In this article
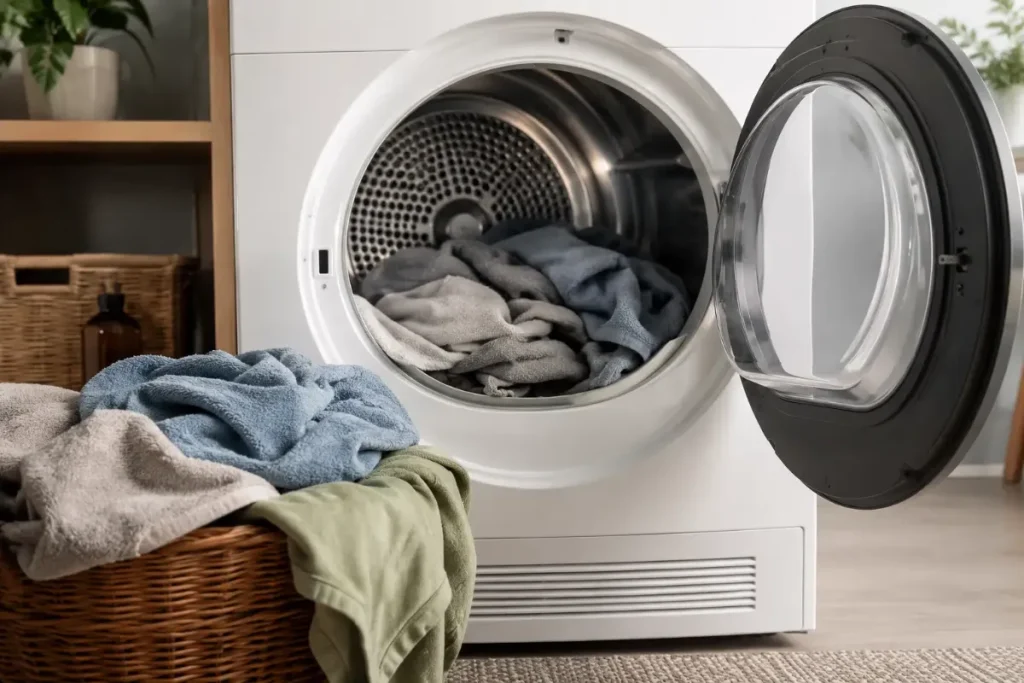
Opening the door to cold, damp laundry is frustrating, especially when the drum turns and everything seems to work. Before paying for a service call, you can often find the fault yourself with a basic multimeter. On electric dryers, almost every no-heat problem traces back to one of five things: the heating element, the high-limit thermostat, the house power, the timer or control board, or the motor’s internal switch.
This guide is the testing side of a clothes dryer not heating: exactly what to measure, what the readings should be and what each result means. If you haven’t checked the basics yet (breaker, lint screen and vent), start with our dryer no-heat checklist first.

Before You Start: Tools and Safety
- Tools: a digital multimeter, a nut driver or screwdriver, and a flashlight.
- Unplug the dryer for all resistance and continuity tests. The heater sits behind a rear panel or the drum, depending on the model.
- Live voltage tests (tests 3–5) are done with power on at 240 volts. Only do them if you’re trained to work on live circuits. If not, stop after tests 1 and 2 and call a technician.
- Take a photo of every wire connection before you remove anything.
Test 1: The Heating Element
The element is the coil that makes the heat and the most common failure on electric dryers.
- Disconnect one wire from the element so you’re only measuring the element.
- Set the meter to resistance (ohms), not continuity.
- Touch one probe to each element terminal.
| Reading | What it means |
|---|---|
| About 7–20 ohms (many dryers read close to 10–12 or about 20) | Element is likely good; check your model’s spec |
| No reading / open (OL) | Broken coil: replace the element |
| Visible break, burned spot or melted wire | Replace the element and terminal wires |
Check for a grounded element
Set the meter to continuity. Touch one probe to an element terminal and the other to the bare metal heater housing. If it beeps, the coil is touching the housing, which is a short to ground. Replace the element even if its resistance looked fine.
If you remove the element and find a break in the coil, don’t splice or solder it. Repaired coils almost always break again next to the joint, so fit a new element.
Test 2: The High-Limit Thermostat
The high-limit thermostat is a safety switch, usually mounted on the side of the heater box. It cuts the heat if the dryer gets too hot.
- Remove one wire from the thermostat.
- Set the meter to continuity and test across its two terminals at room temperature.
- No continuity (open) means it has failed and needs replacing.
A high-limit thermostat rarely fails on its own. Poor airflow or a shorted element usually causes it, so fix the vent or element at the same time. While you’re there, test the thermal fuse and cycling thermostat the same way; both should show continuity.
Test 3: The Power Supply at the Terminal Block
A surprisingly common cause is the house, not the dryer. An electric dryer needs 240 volts: 120 on each of two legs. If one leg is lost, the drum still turns, because the motor only needs 120 volts, but the element never heats.
With the meter on AC voltage and the dryer plugged in, measure at the terminal block on the back:
| Measure between | Should read |
|---|---|
| Black and white (neutral) | About 120 V |
| Red and white (neutral) | About 120 V |
| Red and black | About 240 V (220–250 V is normal) |
If a reading is missing, the problem is the breaker, outlet or house wiring. Reset the breaker fully; if that doesn’t restore it, call an electrician.
Test 4: The Timer or Control Board
The timer (on dial-type dryers) or the electronic control board sends power to the heating circuit. A worn relay or burned terminal can stop it.
With the dryer running on a heated cycle, check for about 120 volts reaching the L1 side of the element circuit. If it isn’t there while the dryer is calling for heat, and the thermostats and fuse tested good, the timer or board has likely failed. Also look for melted connectors or scorch marks on the board.
Safer unplugged test for dial timers: unplug the dryer and remove the console cover. Pull one of the two heavier-gauge wires (often red and black) that feed the heating circuit, turn the dial to a heated cycle such as 20 minutes on high, and check for continuity across the timer’s heat contacts, labeled on the wiring diagram (often A and B). If you never get continuity at any heat setting, the timer contacts have failed. Also check that the knob and shaft actually turn the timer.
Test 5: The Motor’s Centrifugal Switch
This one surprises most people. The drive motor has a built-in centrifugal switch that only sends power to the heating element once the motor is spinning. It stops the element from heating while the drum is still.
If that switch doesn’t close, the drum turns but the element never gets power. With the dryer running, a technician checks for about 120 volts on the L2 wire coming from the motor to the heating circuit. No voltage there means the motor switch, and usually the motor, needs replacing.
Test Results at a Glance
| Test | Good result | Bad result means |
|---|---|---|
| Element resistance | About 7–20 ohms | Replace element |
| Element to housing | No continuity | Shorted element: replace |
| High-limit thermostat | Continuity | Replace thermostat; fix airflow |
| Terminal block voltage | 120 / 120 / 240 V | House power problem: electrician |
| Voltage at element (L1) | About 120 V while heating | Timer or control board |
| Voltage from motor (L2) | About 120 V while running | Motor centrifugal switch |
Repair Costs
| Repair | Part only | Pro (parts + labor) |
|---|---|---|
| Heating element | $40 – $90 | $130 – $280 |
| High-limit or cycling thermostat | $15 – $40 | $90 – $180 |
| Timer or control board | $80 – $250 | $180 – $450 |
| Drive motor | $100 – $200 | $250 – $450 |
Find Dryer Repair Companies
Clothes dryer not heating and not comfortable with live voltage tests, or the readings point to the motor or board? Search for appliance technicians in your area, compare reviews and request free quotes.
Find dryer repair companies Get free quotes Same-day service
Questions and Answers
Why is my clothes dryer not heating but still spinning?
The motor runs on 120 volts, but the element needs 240. A lost power leg, a broken element, an open high-limit thermostat or fuse, or a failed motor switch can all leave the drum spinning without heat.
Why is my laundry dryer not heating up at all?
Check the vent first, then test the element, the thermostats and the thermal fuse for continuity. About 90% of no-heat problems are one of those parts; if they all pass, test the timer and the breaker.
How many ohms should a dryer heating element have?
Typically about 7–20 ohms, depending on the model. An open reading (no number) means the element is broken.
How do I test a dryer high-limit thermostat?
Unplug the dryer, remove one wire and check for continuity across its terminals at room temperature. No continuity means replace it.
Can a bad outlet cause a dryer not to heat?
Yes. If one 120-volt leg is missing, the dryer runs but won’t heat. Measure 120, 120 and 240 volts at the terminal block, or have an electrician check the circuit.
Can a motor make a dryer stop heating?
Yes. The motor’s centrifugal switch sends power to the element. If it fails to close, the drum turns but the heat never comes on.
What usually causes a heating element to burn out?
Poor airflow from a clogged vent or lint buildup, which makes the element run too hot. Clean the vent when you replace it.
Is it safe to test a dryer myself?
Resistance and continuity tests with the dryer unplugged are safe for most handy homeowners. Live voltage tests at 240 volts should be left to trained technicians.
How long does it take to replace a dryer heating element?
About an hour for most models, longer if the drum has to come out to reach it.
The Bottom Line
When a clothes dryer not heating passes the basic breaker and vent checks, a multimeter will usually find the cause in five tests: element, high-limit thermostat, house voltage, timer or board, and the motor switch. Start with the unplugged tests, fix any airflow problem behind a failed part, and call a technician for live voltage work. Samsung owners can follow our Samsung dryer heat repair steps.
About This Guide
Written by David C and reviewed by the Repairior Editorial Team, based on standard appliance service procedures and national repair cost data. Specifications vary by model; check the wiring diagram inside your dryer. Businesses can’t pay to change our guides.
Compare dryer repair pros near you and request free quotes in minutes.