In this article
A GE dryer not heating, while the drum still turns, usually comes down to one of a few parts: a burned heater wire or terminal, a failed heating element, an open thermal fuse or thermostat, a faulty timer, or a power problem at the outlet. Newer GE electric dryers place the heater pan inside the cabinet, so some tests mean removing the front and the drum. This guide works from the easiest checks to the hardest, and most of it needs only a nut driver, a Phillips screwdriver and a multimeter.
Why Is My GE Dryer Not Heating?
| Cause | Clue | Where |
|---|---|---|
| Clogged lint filter or vent | Heats, but clothes stay damp | Filter, door housing, duct |
| Power cord, terminal block or breaker | Runs, no heat at all; burn marks | Lower rear panel |
| Burned purple heater wire or terminal | No heat; charred connector | Heater pan, lower right inside |
| Open heating element | No heat; reading far from spec | Heater pan |
| Thermal fuse or thermostat open | No heat; no continuity | Heater pan and blower housing |
| Timer contacts | No continuity in heat settings | Behind the console |
| Floating neutral or low voltage | Voltage drops when running | House wiring |
Step 1: Wash the Lint Filter
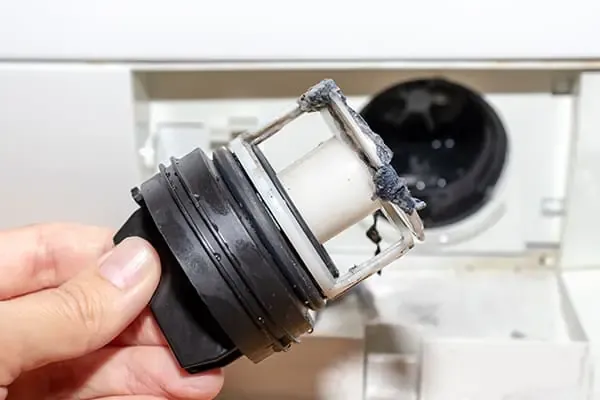
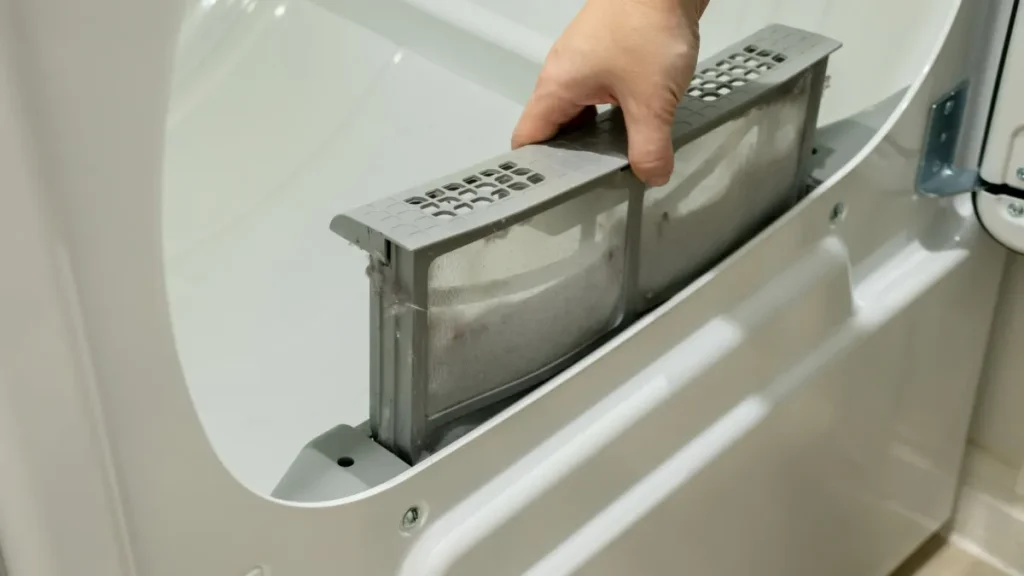
If the dryer gets warm but clothes don’t dry, start with the filter. Dryer sheets leave an almost invisible film on the mesh that blocks airflow. Run hot water over the screen: the water should pass straight through. If it beads up or pools on top, scrub it with warm, soapy water and a soft brush until water flows through freely. Also vacuum out the filter housing in the door.
Step 2: Check the Cord, Terminal Block and Voltage
- Pull the dryer out and remove the small panel at the lower rear where the power cord enters (one 1/4-inch hex screw).
- Inspect the cord and terminal block. Burned, melted or loose connections mean you need a new terminal block or cord.
- If everything looks fine, plug the dryer in for this one test only and set your multimeter to AC volts. Measure the center (neutral) terminal to each outer terminal: about 120 V each. Measure across the two outer terminals: at least 208 V, typically 240 V.
- If the reading is far below 208 V, or a leg is missing, switch the dryer breaker fully off and back on. If that doesn’t fix it, the outlet, cord or breaker needs an electrician.
There’s often a fuse at the bottom of the housing near the terminal block on these models as well. Unplug the dryer and test it for continuity; a good fuse reads close to 0 ohms.
Step 3: Test the Timer
Remove the two screws on each side of the plastic console and the four screws holding the metal back cover, then slide the cover up and out. The wiring schematic is usually stored here. Find the timer’s heat contacts on the schematic (often marked A and B), place your multimeter leads on them, and turn the dial through the heat settings. In a heated cycle you should see about 0 ohms or hear a beep. No continuity in any heat setting means the timer has failed. Also make sure the knob and shaft actually turn the timer.
Step 4: Remove the Front and Drum
- Remove the two Phillips screws inside the door opening (top left and right) and pop the top up with a screwdriver.
- Remove the two hex screws, one on each side, holding the front panel.
- On some models, unplug the light switch harness at the top left.
- Lift the front panel off the three metal fingers at the bottom. The door lock harness is short, so tilt the front forward and rest it on a box, then move the plastic cover aside and unplug the harness.
- Reach behind the blower housing, pull the idler pulley to the right and rest it on the tab on the motor mount. This holds the tension off so you can slip the belt from the idler and motor pulley.
- Prop the top back against the wall, then lift the drum out by the belt, following the grooves in the cabinet sides.
Step 5: Inspect the Heater Pan and Purple Wire
With the drum out, look for burn marks, broken coils or damage on the heater pan. While it’s open, vacuum all the lint from the cabinet, the motor and the blower housing; a flexible dryer cleaning kit reaches the tight spots.
On this style of GE dryer, one of the most common causes of no heat is the purple wire at the lower right of the heater pan. It should be clean and silver at the terminal. If it’s burned, charred or discolored, replace it with the GE replacement wire kit. If the spade terminal on the heater pan itself is burned, replace the heater pan too, or the new wire will burn again.
Step 6: Test the Heater and Safety Parts
Unplug the dryer, set the multimeter to ohms, and remove one wire from each part before testing it. The heater pan’s edges are very sharp, so wear gloves.
| Part | Expected reading | If it fails |
|---|---|---|
| Heating element (across the two left terminals) | About 43 ohms | Replace the heater pan |
| Purple wire terminal to upper or lower left terminal | About 21 ohms | Replace the heater or its wire |
| Outlet thermostat (blower housing) | Continuity, about 0 ohms | Replace the thermostat |
| Thermistor (temperature sensor) | About 9,000–10,000 ohms at room temperature | Replace if more than 10–15% off |
| Safety thermal fuse (top left of heater pan) | Continuity, about 0 ohms | Replace the fuse and find the cause |
| Inlet control thermostat | Continuity, about 0 ohms | Replace the thermostat |
| High-limit thermostat | Continuity, about 0 ohms | Replace the thermostat |
Values vary by model, so confirm them against the schematic stored in your dryer. A blown fuse or thermostat usually means the dryer overheated; clean the vent and blower so the new part lasts.
Step 7: Rule Out a Floating Neutral
If every part tests good, the power may be dropping under load. With the dryer running, measure the voltage at the terminal block again. If it starts above 208 V but drops sharply when the dryer runs, there’s a wiring problem between the breaker and the outlet, sometimes called a floating neutral. That’s a job for an electrician.
Step 8: Reassemble and Test
- Set the idler pulley on the motor-mount tab again. Make sure the belt sits in the rear groove of the drum.
- Slide the drum in so the rear bearing seats in its housing, and turn it to check for rubbing.
- Wrap the belt around the motor pulley, then release the idler so it takes up the tension. Turn the drum: the blower should turn with it.
- Set the front panel on the three fingers, reconnect the door lock harness, and pivot the front into place so the drum bearing rests on the front frame and the side tabs line up.
- Reinstall the hex screws, the light harness, the top and the console screws, including the ground screw and wire.
- Plug the dryer in and run a timed high-heat cycle with a damp towel. Warm air should come out within a few minutes.
GE Dryer Heat Repair Costs
Part prices are typical online prices; professional prices include parts and labor based on 2025–2026 U.S. repair-cost data.
| Repair | Part only (DIY) | With a technician |
|---|---|---|
| Heater wire kit | $15 – $40 | $120 – $220 |
| Heater pan / element assembly | $60 – $150 | $200 – $380 |
| Thermal fuse or thermostat | $10 – $40 | $100 – $220 |
| Thermistor | $15 – $40 | $100 – $200 |
| Timer | $80 – $200 | $180 – $400 |
| Terminal block or power cord | $15 – $40 | $100 – $200 |
Find a Dryer Repair Pro
If the parts test good, the voltage drops under load, or you’d rather not take the cabinet apart, a dryer technician can diagnose it in one visit.
Find dryer repair companies Get free quotes Same-day service
Questions and Answers
Why is my GE dryer running but not heating?
The motor needs 120 volts and the heater needs 240. A burned heater wire, an open element or fuse, or a lost power leg are the usual causes.
What is the purple wire on a GE dryer?
It’s the heater wire on many newer GE electric dryers. It often burns at the terminal, which stops the heat. GE sells a replacement wire kit.
Where is the thermal fuse on a GE dryer?
On newer GE models, a safety fuse sits at the top left of the heater pan inside the cabinet; some models also have a fuse near the terminal block.
How many ohms should a GE dryer heating element read?
On the heater pans covered here, about 43 ohms across the element and about 21 ohms per half. Check your model’s schematic.
Does a GE dryer have a reset button?
No. Unplugging it for a minute resets the controls, but a blown fuse or thermostat must be replaced.
How do I clean a GE dryer lint filter properly?
Wash it under hot water. If water beads up on the mesh, scrub it with soapy water to remove dryer-sheet residue.
Can low voltage stop a GE dryer from heating?
Yes. It needs at least 208 volts across the outer terminals while running. A big voltage drop under load points to a wiring problem.
How much does it cost to fix a GE dryer not heating?
Parts usually cost $15–$150. With a technician, most no-heat repairs cost $100–$380.
Is it hard to take the drum out of a GE dryer?
It takes some patience. The trick is resting the idler pulley on the motor-mount tab to hold the belt tension off.
Why does my GE dryer heat but not dry?
Usually a clogged filter, lint buildup in the cabinet or a blocked vent. Clean all three before replacing parts.
The Bottom Line
For a GE dryer not heating, wash the lint filter, check the cord, terminal block and voltage, then test the timer. Inside the cabinet, look for a burned purple heater wire before testing the element, fuse, thermostats and thermistor. Clean out the lint while you’re there so the repair lasts. For general causes that apply to every brand, see our guide on why a dryer stops heating.
About This Guide
This guide was written by David C, Senior Technical Writer at Repairior, based on hands-on appliance repair steps and reviewed by our editorial team. Readings and layouts vary by model, so check the schematic inside your dryer. Cost ranges reflect published 2025–2026 U.S. repair pricing, and we update our guides when pricing or best practices change.
Compare reviewed dryer repair companies and request free quotes in minutes.