In this article
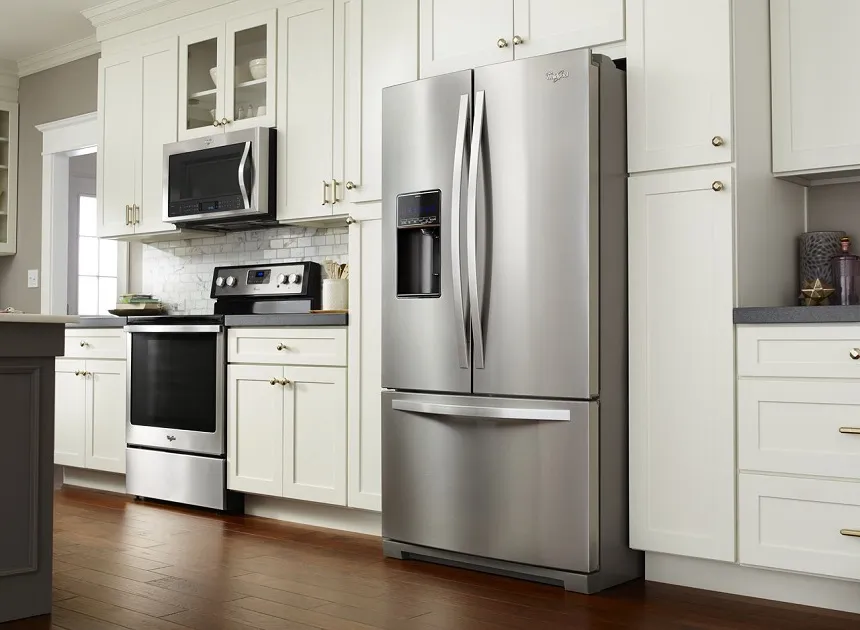
A Whirlpool refrigerator not cooling usually has a simple cause. Settings and power glitches, blocked vents and dirty condenser coils account for most warm-fridge calls, followed by a failed start relay, a loose or faulty temperature sensor, and defrost system problems. Work through the checks below in order, from the free fixes to the ones that need a part or a technician. They apply to Whirlpool side-by-side, French-door and top-freezer models, and to many Maytag, KitchenAid and Amana fridges built on the same platforms.
Why Is My Whirlpool Refrigerator Not Cooling?
Think in layers: power and settings first, then airflow, then individual parts, then the defrost system. A cooling failure almost always lives in one of those layers.
| Cause | Clue | Typical part cost |
|---|---|---|
| Settings, demo mode or control glitch | Lights on, no cold air | $0 |
| Blocked vents | Fridge warm, freezer fine | $0 |
| Dirty condenser coils | Runs constantly, warm sides | $0 |
| Leaking door seal | Condensation, high energy bills | $75 – $200 |
| Failed start relay | Click every 30 seconds, compressor silent | $8 – $15 |
| Loose or failed thermistor | Erratic temperatures, food freezing | $20 – $40 |
| Defrost system or control board | Thick ice on the freezer back wall | $25 – $250 |
| Compressor or sealed system | Grinding, scalding hot, or silent | $800 – $1,500 installed |
Step 1: Do a Full Power Reset
Unplug the fridge (or switch off its breaker) for a full 10 minutes. This clears the control board and lets the system restart cleanly. When you plug it back in, listen for a gentle hum from the compressor and fan within a few minutes.
Step 2: Check Settings, Demo Mode and Location
- Set the fridge to 37°F and the freezer to 0°F. A bumped dial or control is a surprisingly common cause.
- Make sure the fridge isn’t in demo or showroom mode, which keeps the lights and display on but turns cooling off. Your manual lists the button combination to exit it.
- Garage fridges: if the room drops below about 55°F, many refrigerators stop cooling properly because the thermostat senses cold air and the compressor oil thickens. Use a fridge rated for garage use or move it indoors in winter.
Step 3: Clear the Air Vents
Cold air flows from the freezer into the fresh-food section through vents. An overpacked shelf, or a large item such as a turkey or a case of drinks pushed against the back wall, can block them and leave the fridge warm while the freezer stays cold. Keep about an inch of space between food and the walls, especially around the vents.
Step 4: Clean the Condenser Coils
Dirty coils are behind a large share of warm-fridge problems. When they’re coated in dust and pet hair, heat can’t escape and the compressor overheats.
- Unplug the fridge.
- Remove the base grille at the bottom front by lifting or unscrewing it (check your model).
- Vacuum with a narrow crevice tool, working top to bottom and with the direction of the coil fins, not against them. A long coil brush helps reach deep inside.
- On some newer Whirlpool models, the coils are tightly pleated and a vacuum can’t reach between them. Blow them out with compressed air instead, ideally after moving the fridge outside or with a vacuum catching the dust at the front.
Clean coils can noticeably improve cooling and cut running time. Plan to repeat it once or twice a year.
Step 5: Test the Door Seal
Close the door on a dollar bill and pull it out. If it slides out easily, that part of the gasket is leaking cold air, and the compressor runs nearly nonstop trying to keep up, which also shows up on your power bill. Clean the gasket, reshape creased spots with gentle heat from a hair dryer, and replace the gasket if it’s torn or flattened. Replacement gaskets typically cost $75–$200, plus about $100 if a technician installs it.
Step 6: Replace a Failed Start Relay
If the fridge isn’t cooling and you hear a click from the back every 30 seconds or so followed by silence, the start relay isn’t getting the compressor going.
- Unplug the fridge and pull it out.
- Remove the lower rear access panel and find the compressor (the black tank).
- Pull the small black or brown start relay off the side of the compressor.
- Shake it. If it rattles, it’s broken inside.
- Push the new relay onto the compressor pins, reconnect the wires, and plug the fridge back in.
Relays cost about $8–$15 online and take around five minutes to swap. If a new relay doesn’t start the compressor, the compressor itself may be failing.
Step 7: Check the Thermistor (Temperature Sensor)
Erratic cooling, food freezing in the fresh-food section, or a compressor that never stops can mean the temperature sensor is giving the board false readings. On a number of Whirlpool models, the clip that holds this sensor in place is known to loosen or fall off, so first make sure it’s firmly clipped in position.
- Unplug the fridge and disconnect the sensor.
- At room temperature (about 70°F), it should read roughly 8,000–10,000 ohms.
- Dip it in ice water for 30 seconds; the reading should rise to around 25,000 ohms.
- Readings far outside those ranges mean the sensor needs replacing ($20–$40).
Step 8: Diagnose the Defrost System
If the freezer’s back wall is coated in thick frost and ice, the automatic defrost system has failed and the ice is blocking airflow. Remove the freezer back panel and test:
- Forced defrost test: put the fridge into forced defrost (the method varies by model; see the tech sheet). If the heater warms up, the heater and thermostat work, and the control board isn’t starting defrost on its own.
- Defrost heater: if it doesn’t warm up, test it with a multimeter. Many Whirlpool heaters read around 27 ohms; an open reading means it’s bad.
- Defrost thermostat: the bimetal thermostat clipped to the coil should show continuity when it’s freezing cold, and open when warm.
Replace whichever part fails, or the control board if both heater and thermostat test good. The service tech sheet, usually tucked behind the base grille or a panel, lists your model’s test modes and values.
When It’s the Compressor
A compressor that grinds, gets scalding hot, or stays silent with a known-good relay usually needs replacing. That’s sealed-system work requiring EPA certification and typically costs $800–$1,500. Use the 50% rule: if the repair costs more than half the price of a comparable new fridge, or the fridge is over 8–10 years old, replacement usually makes more sense.
Whirlpool Fridge Repair Costs
Part prices are typical online prices; installed prices include labor based on 2025–2026 U.S. repair-cost data.
| Repair | Part only (DIY) | With a technician |
|---|---|---|
| Reset, settings, vents, coil cleaning | $0 | $75 – $150 |
| Start relay | $8 – $15 | $100 – $250 |
| Thermistor | $20 – $40 | $100 – $250 |
| Door gasket | $75 – $200 | $175 – $300 |
| Defrost heater or thermostat | $25 – $70 | $200 – $400 |
| Control board | $100 – $250 | $250 – $500 |
| Compressor replacement | Not DIY | $800 – $1,500 |
Find a Refrigerator Repair Pro
If the relay, sensor and defrost parts check out, or you suspect the compressor, have a technician confirm the diagnosis before deciding to repair or replace.
Find refrigerator repair companies Get free quotes Same-day service
Questions and Answers
How do I reset my Whirlpool refrigerator?
Unplug it or switch off the breaker for 10 minutes, then restore power. This clears the control board and restarts the cooling system.
Why is my Whirlpool fridge not cold but the freezer is?
Cold air isn’t reaching the fresh-food side. Check for blocked vents first, then ice on the evaporator from a defrost fault, or a failed fan or damper.
What does clicking from the back of my Whirlpool fridge mean?
A click every 30 seconds or so with no compressor running usually means a failed start relay, an inexpensive part that pushes on and off.
How do I get my Whirlpool fridge out of demo mode?
The button combination depends on the model, often holding two buttons for 3–10 seconds. Check your owner’s manual or the control panel guide.
Why did my Whirlpool fridge in the garage stop cooling?
Most fridges don’t run properly when the room drops below about 55°F. The thermostat senses cold air and the compressor doesn’t run enough.
Where are the condenser coils on a Whirlpool refrigerator?
On most models, behind the base grille at the bottom front, and sometimes accessible from the back. Older models may have coils on the back.
How do I test a Whirlpool refrigerator thermistor?
With a multimeter: about 8,000–10,000 ohms at room temperature, rising to around 25,000 ohms in ice water. Readings far off mean replace it.
How much does it cost to fix a Whirlpool refrigerator not cooling?
Many fixes are free or under $50 in parts. With a technician, most repairs cost $100–$400; a compressor runs $800–$1,500.
Is it worth fixing a Whirlpool refrigerator that’s 10 years old?
For relays, sensors, gaskets and defrost parts, yes. For a compressor or sealed-system repair, compare the quote with a new fridge using the 50% rule.
How long should a Whirlpool fridge take to cool after a reset?
Usually 6–12 hours to reach a safe temperature and up to 24 hours to stabilize fully.
The Bottom Line
When you find a Whirlpool refrigerator not cooling, start with the free checks: a 10-minute power reset, the right settings, clear vents and clean condenser coils. Then test the door seal, listen for a clicking start relay, and check that the thermistor is clipped in place. Thick freezer frost points to the defrost system. Save compressor work for last, and weigh it against the cost of a new fridge. For causes that apply to every brand, see our guide on why a fridge stops cooling.
About This Guide
This guide was written by David C, Senior Technical Writer at Repairior, based on hands-on appliance diagnostics and reviewed by our editorial team. Resistance values and test modes vary by model, so check your fridge’s tech sheet. Cost ranges reflect published 2025–2026 U.S. repair pricing, and we update our guides when pricing or best practices change.
Compare reviewed refrigerator repair companies and request free quotes in minutes.