In this article
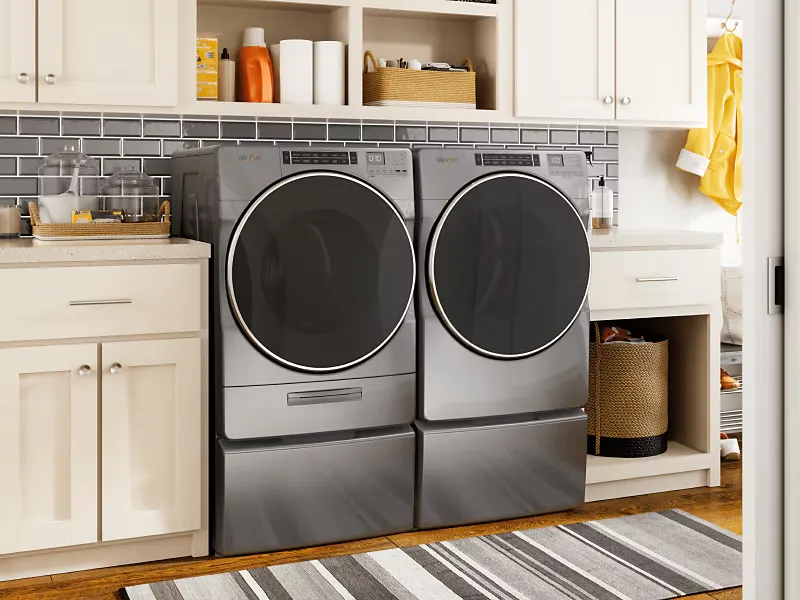
A Whirlpool dryer not heating almost always traces back to a handful of parts in two places: the heater box at the back (heating element, high-limit thermostat and thermal cutoff) and the blower housing (cycling thermostat and thermal fuse). Behind most of those failures is the same root cause: poor airflow. This guide explains how a Whirlpool-style dryer moves air, then walks you through testing each part with a multimeter. The same design is used in many Maytag, Kenmore, Amana, Roper and KitchenAid dryers, so the steps apply to those too.
How a Whirlpool Dryer Moves Air (and Why It Matters)
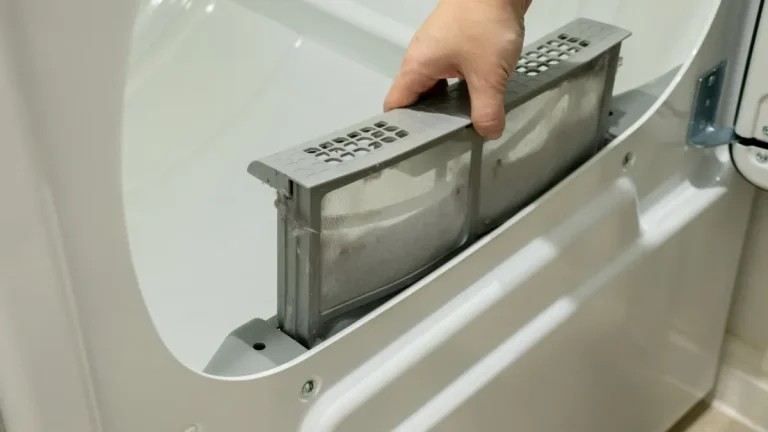
A dryer actually pulls more than it pushes. The blower wheel near the front creates negative pressure inside the cabinet, which draws room air into the heater box at the back. The air passes over the heating element, enters the drum, picks up moisture from the clothes, then exits through the lint screen, down the lint chute, past the blower and out the vent.
When lint escapes the screen and builds up in the chute, around the blower wheel or in the vent duct, air moves too slowly. Heat builds up, thermostats trip, fuses blow and elements burn out. That’s why a no-heat repair isn’t finished until the airflow is fixed.
Why Is My Whirlpool Dryer Not Heating? Parts to Check
| Part | Location | What it does | Good test result |
|---|---|---|---|
| Heating element | Heater box, back | Heats incoming air | Continuity (about 10 ohms); no short to housing |
| High-limit thermostat | On the heater box | Cuts power if the element overheats | Continuity at room temperature |
| Thermal cutoff (high-limit fuse) | On the heater box | One-time fuse if incoming air gets too hot | Continuity |
| Cycling (operating) thermostat | Blower housing | Turns heat on and off to hold the set temperature | Continuity on the outer terminals; roughly 7,000–10,000 ohms on the bias heater |
| Thermal fuse | Blower housing | Blows if exhaust air gets too hot | Continuity (on many models a blown fuse stops the dryer running at all) |
| Timer or control board | Console | Sends power to the heating circuit | Contacts close in heat cycles |
| Drive motor switch | Inside the cabinet | Centrifugal switch allows heat only when the motor turns | Motor runs and switch closes |
Before You Test: Safety and Setup
- Unplug the dryer (or shut off the breaker) before opening any panel.
- Pull the dryer out and remove the rear panel screws. Removing the console panel too gives better access on some models.
- Photograph the wiring before disconnecting anything, so you can put it back exactly.
- Look for melted, burned or discolored wires and terminals; a burned element wire is a common hidden cause.
- Set your multimeter to continuity (it beeps when a circuit is complete) or to ohms.
Step 1: Test the Heating Element
The element is the large coil inside the heater box, usually held by two screws. Disconnect its wires and touch one probe to each terminal. A beep or a reading around 10 ohms means the coil is intact; no reading means it has broken and needs replacing. Next, put one probe on a terminal and the other on the metal housing. If it beeps, the element is shorted to ground and must be replaced. Elements usually break because they overheated from poor airflow.
Step 2: Test the High-Limit Thermostat
This safety thermostat is mounted on the heater box next to the element terminals. Gently pry off its connector and check for continuity across its two terminals. No continuity means replace it. A thermostat can test good cold yet still fail when hot, so if the element or fuse keeps failing, replace the high-limit thermostat as a precaution.
Step 3: Test the Thermal Cutoff
Higher up the heater box you’ll usually find the thermal cutoff, often connected with two wires. Disconnect both wires and test for continuity. If it’s open, replace it, and always find out why it blew: a failed high-limit thermostat, a shorted element or restricted airflow. Many replacement kits include both the cutoff and the high-limit thermostat.
Step 4: Test the Cycling Thermostat and Thermal Fuse
On the blower housing near the bottom, the cycling (operating) thermostat controls the drying temperature. Disconnect its wires, then:
- Test the two outer terminals for continuity.
- Switch to ohms and test across the two inner terminals, which connect to a small bias heater. Expect roughly 7,000–10,000 ohms.
If both checks pass, the thermostat is probably fine, although it can still open and close at the wrong temperature. The white thermal fuse just above it should show continuity. If that fuse keeps blowing, replace the cycling thermostat and clear the airflow before installing another fuse.
Step 5: Check the 240-Volt Power Supply
If every part tests good, the problem may be the power. An electric dryer needs 240 volts: two 120-volt legs. One leg runs the motor, drum and light; the heating element needs both. So if a breaker half has tripped, a cord connection is loose, or the outlet is worn, the drum turns normally but there’s no heat.
- Reset the double breaker fully off, then on.
- Inspect the terminal block on the back of the dryer for loose, burned or corroded connections and tighten them.
- With the dryer plugged in and care taken, a multimeter on AC volts should read about 120 V from each outer terminal to neutral and about 240 V across the two outer terminals. If not, the problem is in the house wiring, and an electrician should check it.
Step 6: Check the Timer or Control
Inside a mechanical timer, small contacts tell the heating element when to switch on. If they become dirty or arced, they won’t make proper contact and the element never gets power. Check the timer’s heat contacts against your model’s wiring diagram (usually tucked inside the console). On electronic models, the control board relay performs the same job.
Step 7: Check the Drive Motor
The drive motor turns both the drum and the blower wheel. A centrifugal switch on the motor closes only when the motor is spinning at speed, which allows power to reach the heater. This is a safety feature: without the blower turning, there’s no airflow and heat would build up into a fire hazard. If the motor struggles or the switch doesn’t close, the dryer may tumble weakly or not heat at all.
What About a Gas Whirlpool Dryer?
Gas models share the thermal fuse, cycling thermostat and high-limit parts, but heat comes from a burner. If the igniter glows and then no flame appears, the gas valve coils are the usual suspects. If the igniter never glows, test the flame sensor and igniter for continuity. Check that the gas supply valve is fully open. Leave gas line work to a qualified pro.
How to Keep It From Happening Again
- Empty the lint screen before every load.
- Whirlpool recommends washing the lint screen with soap and water about every six months to remove the residue left by dryer sheets.
- Have the lint chute, exhaust duct and outside vent hood checked and cleaned at least every two years.
- Use rigid or semi-rigid metal duct, keep it as short as possible, and avoid crushed or kinked sections.
Whirlpool Dryer Heat Repair Costs
Part prices reflect typical online prices; professional prices include parts and labor based on 2025–2026 U.S. repair-cost data.
| Repair | Part only (DIY) | With a technician |
|---|---|---|
| Thermal fuse or thermal cutoff | $10 – $25 | $100 – $200 |
| High-limit thermostat + cutoff kit | $15 – $35 | $120 – $220 |
| Cycling thermostat | $15 – $40 | $120 – $220 |
| Heating element | $40 – $90 | $150 – $350 |
| Timer or control board | $80 – $250 | $200 – $450 |
| Drive motor | $80 – $180 | $250 – $450 |
| Dryer vent cleaning | — | $100 – $200 |
Find a Dryer Repair Pro
If the parts test good and power is correct, or you’d rather not work around 240 volts or gas, a dryer technician can diagnose it in one visit. Compare quotes before you book.
Find dryer repair companies Get free quotes Same-day service
Questions and Answers
Why is my Whirlpool dryer not heating but still running?
The motor runs on 120 volts, but the heater needs 240. A tripped breaker half, a burned element or a blown thermal cutoff on the heater box are the most common causes.
Where is the thermal fuse on a Whirlpool dryer?
On most electric models it’s on the blower housing at the lower rear, next to the cycling thermostat. A separate thermal cutoff sits on the heater box.
Will a Whirlpool dryer run with a blown thermal fuse?
On many Whirlpool models, no. A blown thermal fuse stops the dryer from starting. On some models it only stops the heat.
Is there a reset button on a Whirlpool dryer?
Most Whirlpool electric dryers have no reset button. Thermal fuses and cutoffs are one-time parts that must be replaced once they blow.
How do I know if my Whirlpool dryer heating element is bad?
Test it with a multimeter: no continuity, or continuity from a terminal to the metal housing, means it’s bad. Visible breaks in the coil confirm it.
Why does my Whirlpool dryer keep blowing thermal fuses?
Restricted airflow or a failing cycling thermostat. Clean the lint chute, blower and vent, and replace the cycling thermostat if fuses keep failing.
Does a Whirlpool dryer need 240 volts to heat?
Yes, electric models need both 120-volt legs. With only one, the drum turns but the element stays cold.
How much does it cost to fix a Whirlpool dryer not heating?
DIY parts usually cost $10–$90. With a technician, most no-heat repairs cost $100–$350.
Are Maytag and Kenmore dryers the same as Whirlpool?
Many are built on the same platform, so the parts and tests in this guide apply to a large number of Maytag, Kenmore, Amana, Roper and KitchenAid dryers.
How often should I clean my dryer vent?
At least every two years, and every year if you run several loads a week or have a long duct run.
The Bottom Line
To fix a Whirlpool dryer not heating, test the heater-box parts first, then the cycling thermostat and thermal fuse, then the power supply, timer and motor. Replace whatever fails, and always clear the lint chute and vent so the new parts last. For more general no-heat causes, see our guides on why a dryer stops heating and multimeter tests for a dryer with no heat.
About This Guide
This guide was written by David C, Senior Technical Writer at Repairior, based on hands-on appliance diagnostics and reviewed by our editorial team. Maintenance intervals follow manufacturer guidance, and cost ranges reflect published 2025–2026 U.S. repair pricing. Resistance values vary by model, so check your dryer’s wiring diagram. We update our guides when pricing or best practices change.
Compare reviewed dryer repair companies and request free quotes in minutes.